For this manual you’ll need Portfolio Toolkit plugin installed and activated on your website.
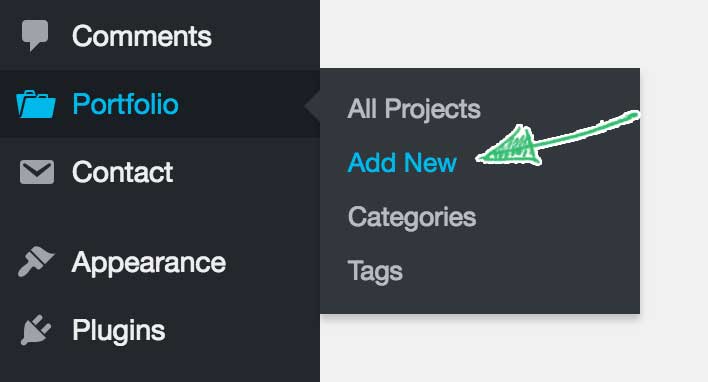
Step 1. Create an empty project by going to Portfolio → Add New
Step 2. Fill in the information about your project.
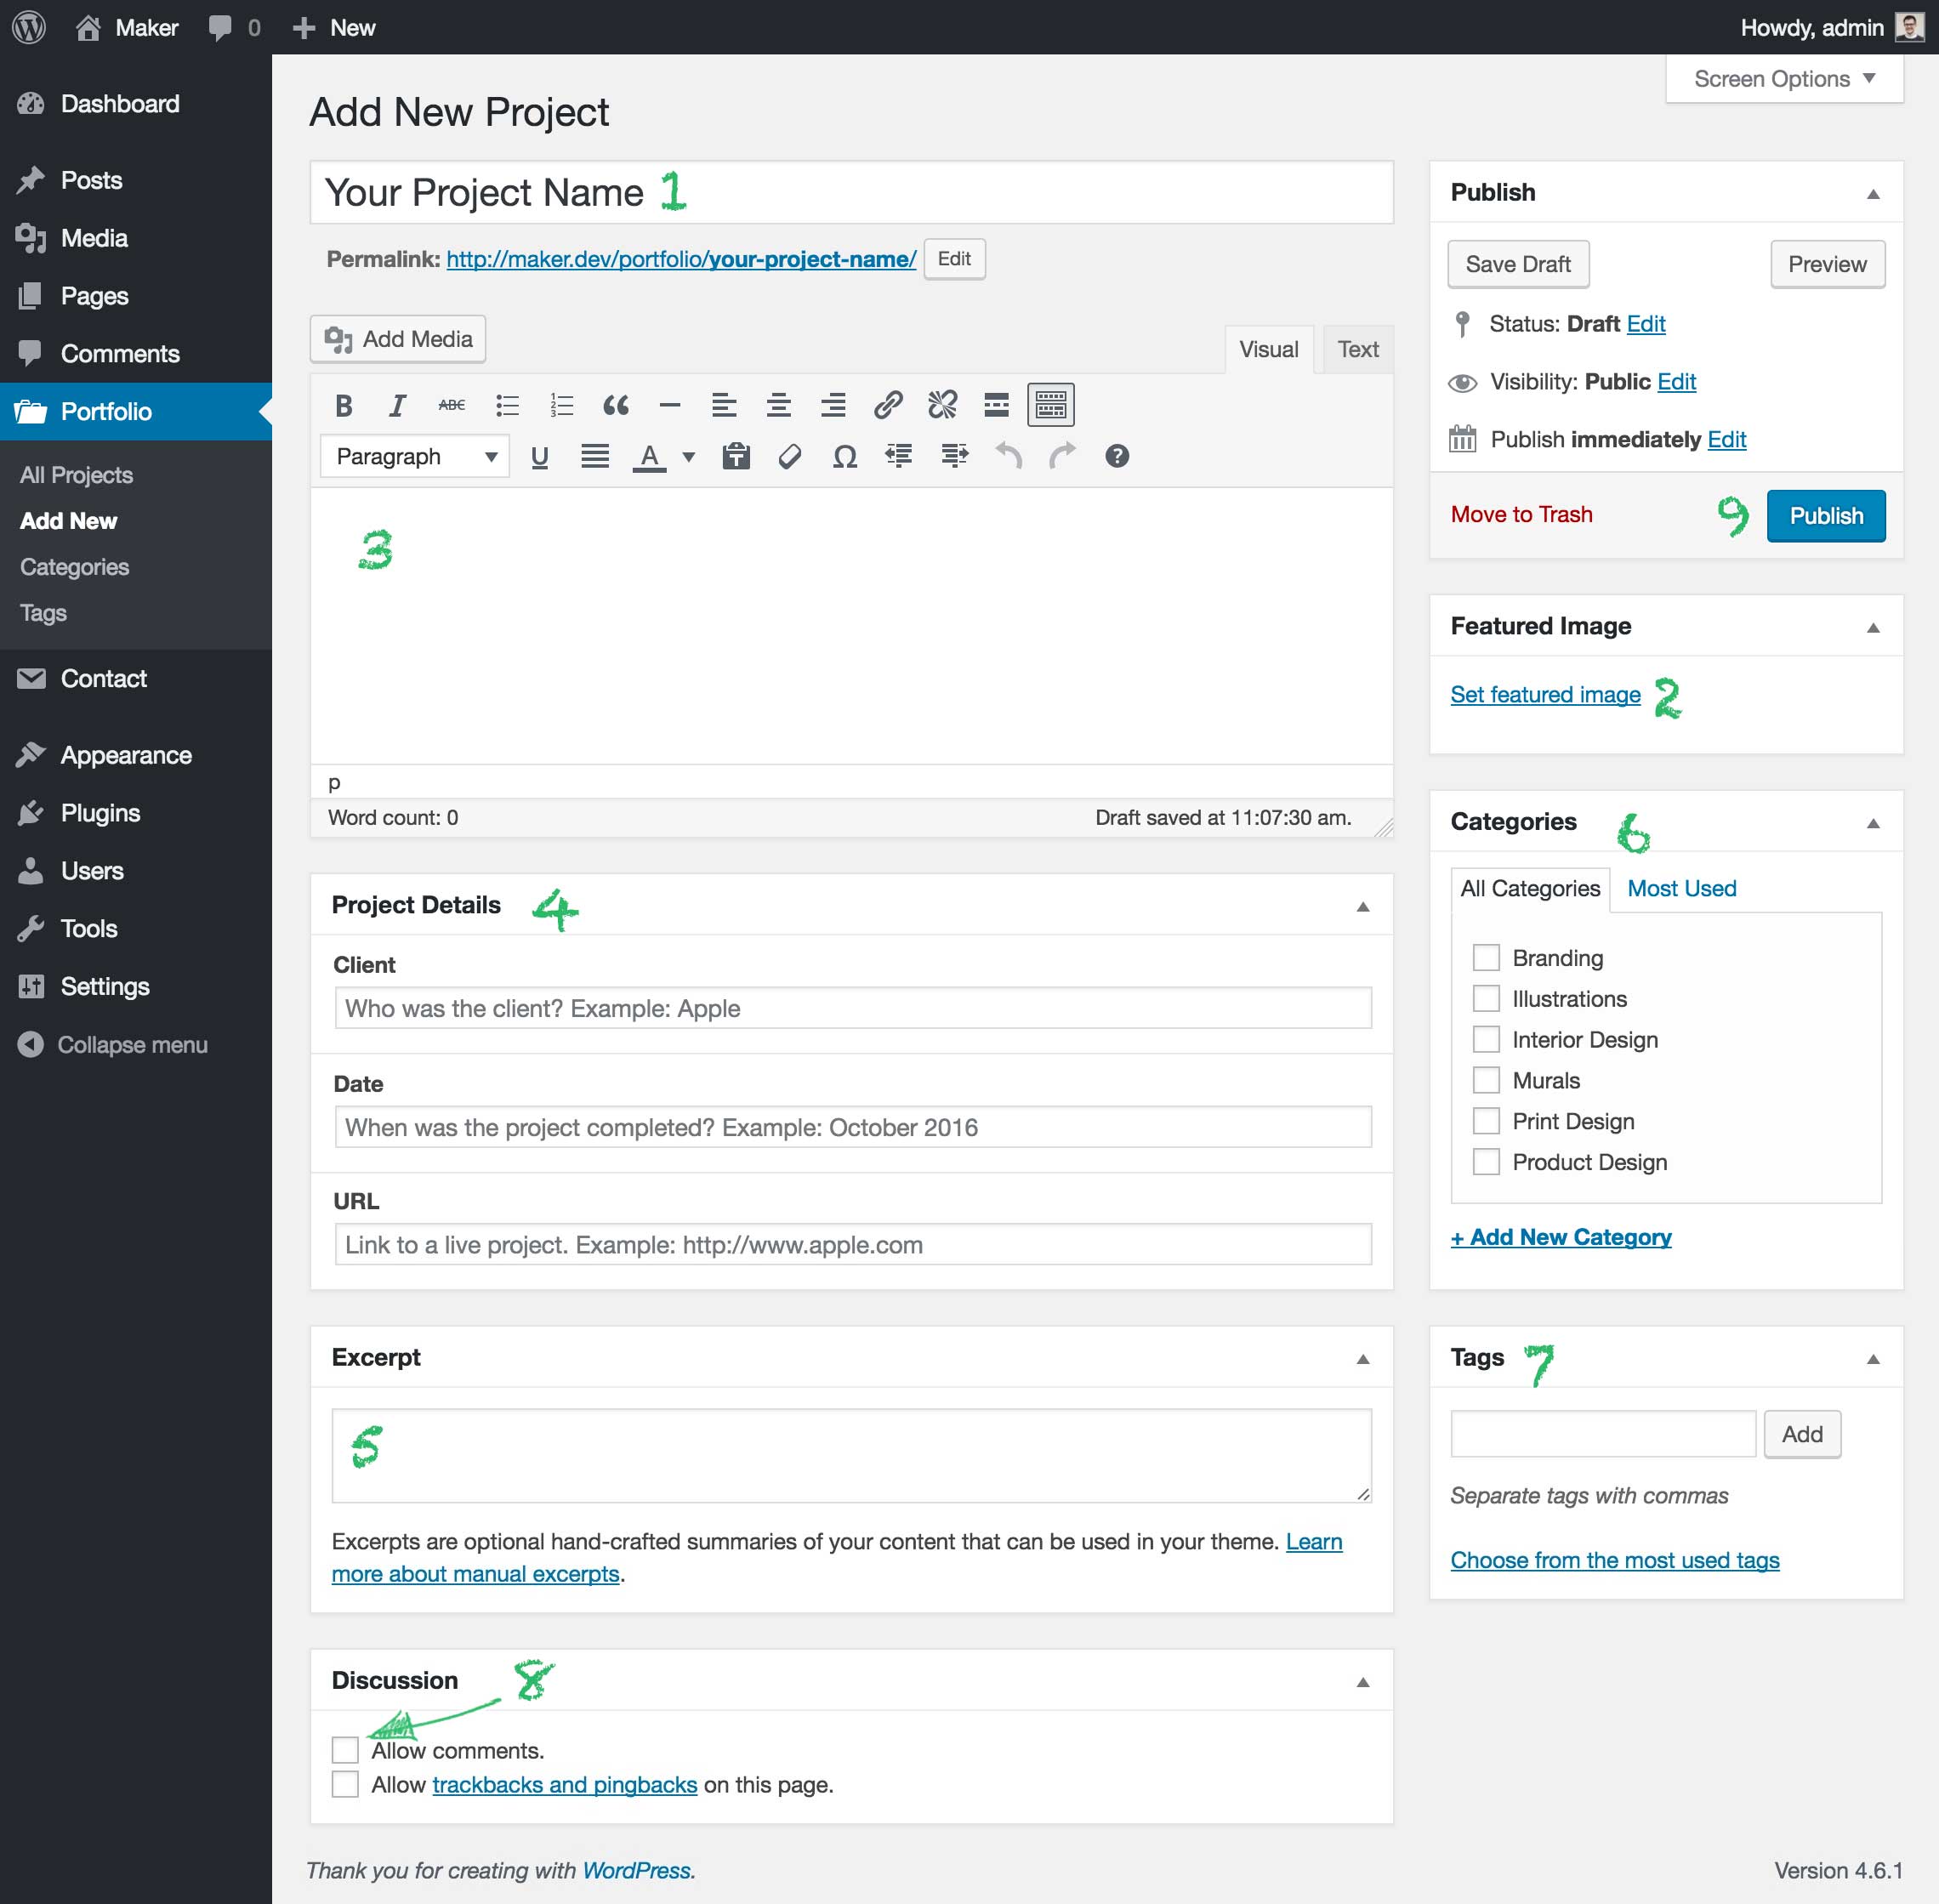
- Add Project Title.
- Set the Featured Image.
- Add the main content. You may include text, images, videos, and galleries. Many projects in the demo take advantage Jetpack Tiled Galleries and Carousel modules to display content.
- Optionally add project details including the name of the Client, Date, and a Link to a live project.
- Optionally add an excerpt. A short description of a project that will display under the title.
- Optionally add Project Category.
- Optionally add Project Tags.
- Uncheck the Allow comments checkbox to disable comments.
- When done, click Publish.
Repeat these steps for each of your projects and move on to the next manual to learn how to create a frontpage with all your projects listed in a grid view.